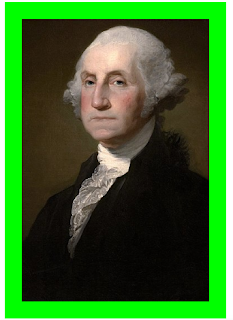
Adding images to Google Docs can be a powerful resource for all students and can make documents look sharp. Here are the steps to quickly add pictures to your documents.
Insert a Picture
1. Open a new Google Doc
2. Give the document a name so you will not lose it
3. Put the cursor where you'd like to insert the picture
4. In the lower right-hand corner, click the 'Explore Tool' icon (see below)
5. If you've already started typing in your document, Google will guess the topic and make suggestions for you. Otherwise, click the box that says 'Search your docs and the web' and type the subject of the image you're looking to include in your document.
6. By default, Google will provide some general information about your topic. To find pictures, click 'Images'
7. When you find a picture you like, hover over it and click the '+' to insert it into your document
Crop the Picture
1. Sometimes the image you selected needs to be cropped. Start by clicking the image to select it.
2. Click the cropping tool icon (see below)
3. You can drag from the corners, sides, or top and bottom to crop the image
4. When you're happy with the cropping, press <Enter> on your keyboard.
Create a Border
1. Click the image to select it
2. Click the 'Border weight' icon and select the thickness you'd like
3. The border color will be black by default. If you want another color, click the image to select it and then click the 'Border color' icon.
4. Select any color you'd like!


Comments
Post a Comment