Sometimes software updates can be good, other times not so much. Unfortunately, this is a case that falls into the latter category. Creating a parent distribution list in GMail used to be easy, then Google Contacts was updated, and now easy is no longer the right word to describe it. I'll leave picking a new adjective up to you, but here are the steps, starting with getting parent email addresses from Skyward.
Instructional Video for Part I
1. Sign into Skyward with your district username and password.
2. Follow the links to open your gradebook. For secondary teachers, click the blue gradebook for the class you want to get the emails, for elementary teachers you can select any of your gradebooks.
3. Click the 'Reports' menu at the top of the screen and select 'Class Roster'.


5. Give your new template a name, such as 'Parent/Guardian Email Addresses' and then click 'Save'.

6. Select how you want the names to display. Unfortunately, you have to choose one way and you will end up with student names on the document. This will be a problem later, but we'll deal with it then. After that, UNCHECK all of the boxes. Then check these boxes: Primary Guardian, All Guardians, Email, and Email. Finally, click 'Save'.

7. Now you can select the template you just created, then click 'Export to Excel'.

8. This should download an Excel File for you to work from.
Part II. Working with the Excel File.
Instructional Video for Excel File
1. Open the Excel File. It should be living in your 'Downloads' folder. It will display a bunch of information you don't need.
2. Highlight all the information from cell A1 to G5 and delete it by pressing the 'Delete' key on your keyboard. Please note, pressing 'Backspace' will only allow you to delete data in one cell at a time. For our purposes, all the data shown below needs to go.

3. Next, we need to delete all the names in Column A. These are the names of the students in your class. Since we are setting up a parent distribution list, we don't need them here. Highlight all of Column and press 'Delete' on the keyboard (not backspace).

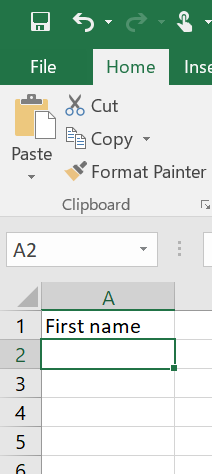
4. Type 'First name' in cell A1
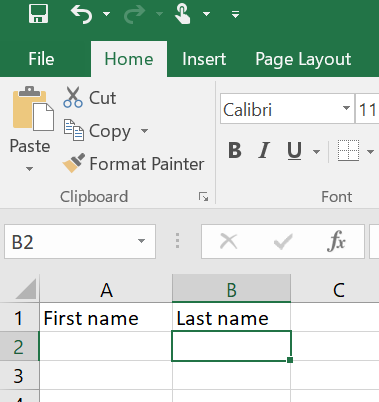
5. Type 'Last name' in cell B1
6. Highlight all of Column C (the emails) and drag the data to a column farther to the right...Column E should work.
7. Now, we get to split the names in Column B into two columns, one for first name and one for last name.
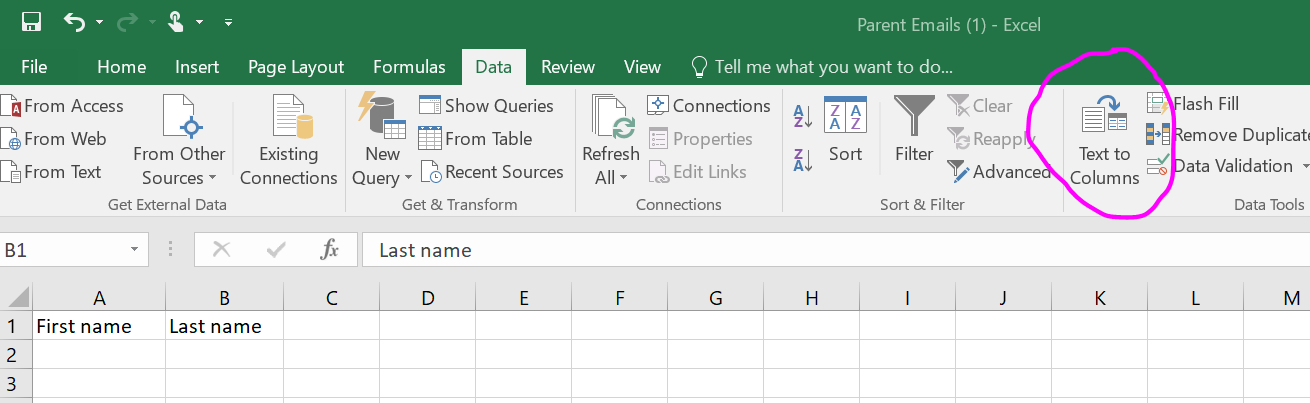
8. Highlight all of Column B and click the 'Data' tab.

9. Click the 'Text to Columns' button.
10. Be sure 'Delimited' is selected (it should be by default) and then click 'Next'.
11. Click to check the 'Comma' checkbox and then click 'Finish'.

12. Highlight the first names that are now in Column C and drag them under the 'First name' heading in Column A.

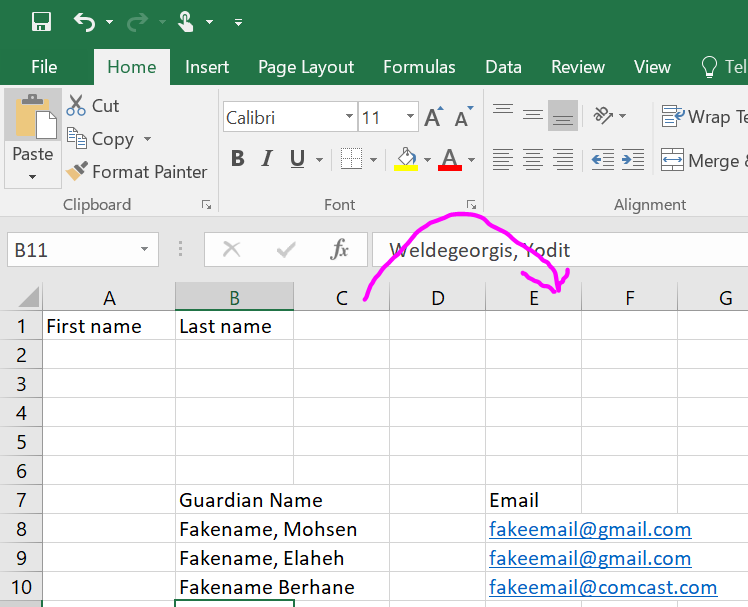
13. Delete the 'Guardian Name' heading in Cell B7 and then highlight and drag the last names underneath the 'Last name' heading. Be sure you line the last names up correctly with the first names in Column A.

14. Highlight Column E (the emails) and drag it to Column C. You'll want to keep the heading that says 'Email'. Make sure you line up the emails correctly with parent names.

15. Click File and select 'Save as...' and choose a folder to save it in. To make it easier to find, I selected my Desktop.
16. Save as file type CSV (Comma delimited) and then click 'Save'.

Instructional Video for Importing to Contacts
17. Open Chrome and then go to Google Contacts (contacts.google.com)
18. Scroll to the bottom of the menu on the lefthand side and click 'Import'.

19. Click the 'Select file' button, browse to find your file and then click 'Import'.

20. A distribution list will be uploaded and automatically labeled 'Imported on 10/4' (or the date you imported)'
21. Click '+ Create label' and name it something that makes sense like 'Parent List 2020' and then click 'Save'.

22. Click on the label called 'Imported on 10/4 (or the date you imported)'
23. Hover over the first name on the list and click the checkbox, then click downward pointing arrow to the right of the blue checkbox on the top and click 'All'.

24. Click the 'Manage labels' icon and click the label you'd like to add the parents to and then click 'Apply'.

25. If you're ready to send an email to the new distribution list, open GMail.
26. If you already had GMail open, you will need to click the circular arrow to reload the page.
27. Click the 'Plus sign' in the top left to compose a new email.
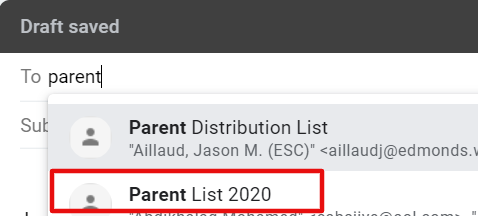
28. Type the name of your Label (distribution list) in the 'To' line and select it. If it doesn't come up, reload the page again.
29. Type your email and send! Every time you want to send an email to the people in this group, you will simply type the name of the label into the 'To' line.
Comments
Post a Comment