Provide a digital writing support that students can't accidentally loose!
Beginning writers and students needing extra support in the writing process can use the features in Seesaw to quickly create a visual and audio rough draft. Using the Draw tool, they can post a rough draft slide that contains a quick drawing and a short audio recording of ideas relating to this drawing.
To do this, you will need a classroom set up in Seesaw. (Check out the Seesaw Getting Started Guide or contact your instructional technology coach for help with setting up your class, walking students through posting for the first time, and inviting families to view their student's work.)

Once a student is logged into Seesaw, they can click on the green add button in the top right corner to choose the type of posting they would like to make to their journal.
Students should select the drawing tool icon.

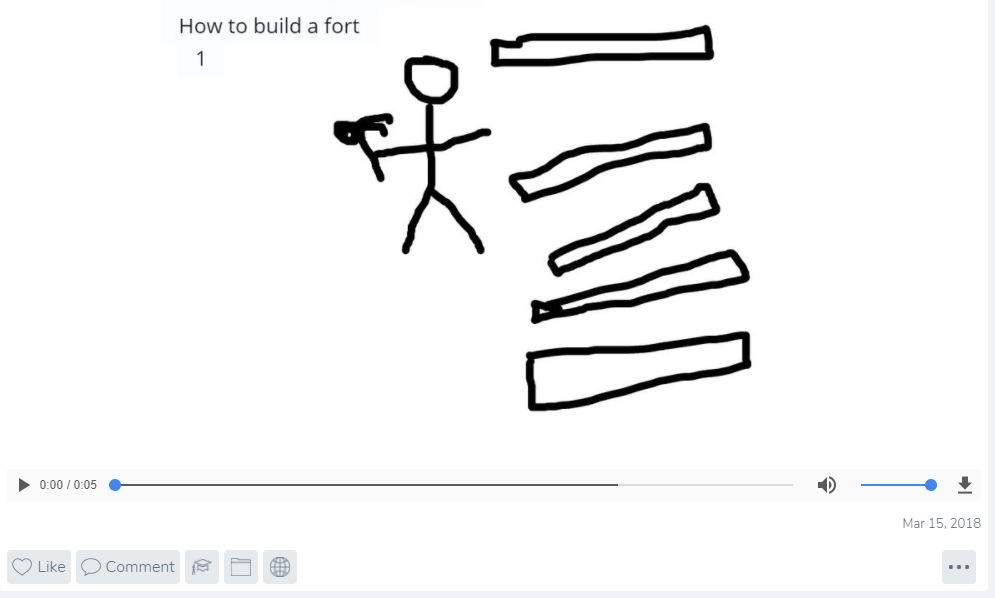
Students can then use their finger on the Chromebook screen or use the touchpad to do a quick draw for their first idea. For example a Kindergarten student working on a how to guide might do a quick draw for the beginning steps for how to prepare a bowl of cereal. Students can use the Label tool to add text to the drawing.

Once students have finished their drawing, they will click on green icon with the check mark in the top right corner to proceed to the next step. By selecting the Record button from the bottom toolbar, students can make a short recording of their ideas relating to this first image.

One "gotcha" that students encounter when they use the Record button for the first time is the need to give Seesaw permission to use the Chromebook's microphone. When first selecting the Record tool, a popup window will ask if the student wants to grant permission for this application to use the microphone. Students should click on Allow.

After finishing the recording, students can listen back to the audio to confirm that it is clear and summarizes their ideas. Clicking through on the check mark icon will confirm that they are finished with this first rough draft slide and they can then choose their name from the class list to post to their portfolio.

To add additional rough draft slides (for example the next steps in a how-to), they would follow the same steps as they did for the first posting: click on the green add button, click on the drawing tool, etc. Rinse and repeat.

Students can use this digital rough draft to aid them in writing their final piece. By clicking on their name in the class list, they will only see their own posting.
Scrolling backwards through the stream of posts will take them to their first rough draft slide where they can listen back to the audio recording of their ideas as they work on writing the first part. Scrolling up to the next posting will provide them the next set of visual and audio prompts to help them write the next part.
A quick drawing and a voice recording of ideas can help writers get over not knowing where to begin. And having a digital version of the rough draft means that students can easily return to their posting as they work to elaborate their ideas. No more accidentally losing a rough draft.
Comments
Post a Comment